Mikes Mini Mame
- Project Type: Bartop/Countertop Arcade Cabinet
- Construction Method: Scratchbuilt
- Monitor Type: 15" LCD TFT
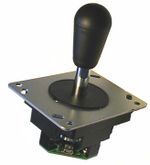
- Interface Type: UltraStik 360
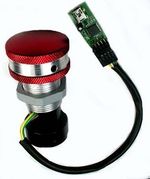
- Special Controls: SpinTrak, AimTrak, UltraLux & Pac-Drive
- OS: Windows XP stripped down using nLite
- Front End: MaLa
Abstract
Hello everybody,
My name is Michael, I live in Cyprus and I am a sys-admin by profession.
This is my second build after a restoration of an old cab back in 2005.
I decided on sharing the details for this latest arcade cabinet in case others might find the read useful or entertaining.
However, the real reason is to keep a record of the build process which for me, is actually more satisfying than finally owning the finished cabinet.
Work started in Nov 2010, with most of the electronics sourced in advance from various locations.
This page will be getting updated following the actual build which in turn heavily depends on my sparce spare time. (so be patient...)
Scope
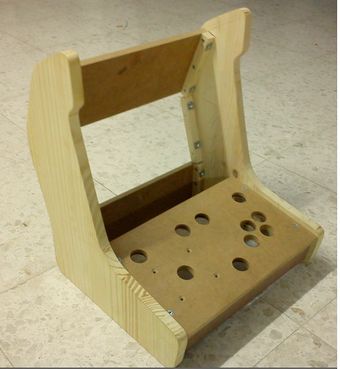
As you may have guessed from the category this is a Bartop/Countertop/Coffee-tabletop/Whichever-suits-you-besttop project.
The need for a mini, compact, carry-around cabinet rose firstly out of the obvious practical reasons from such a small size. Secondly, I found myself curious as to whether the functionality and look and feel of a full sized cab could be successfully scaled down to such a degree.
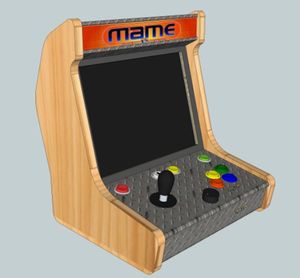
To help me better visualise my concept I have used a CAD tool which on numerous occasions proved invaluable. See design section below.
Design
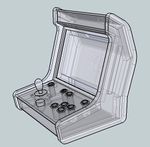
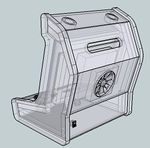
Some X-ray Pics!
CAD Software
As you may have guessed, its Google Sketchup.
Functionality
I chose to use only 4 player buttons in order to save control panel space. Also personally I prefer more simple games with less buttons. In any case with 4 buttons you can still play more than 90% of the Mame games in fact only excluding some 6-button fighting games.
A spinner/dial/paddle, was also included to allow playing of games like Arkanoid, or driving games which require an analog steering wheel.
Since I discovered more than 30 Mame Light Gun games, a light gun module was necessary...
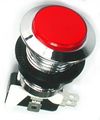
Start a game with a dedicated green button (with backlight) that can also double as a pause button while in game.
Quit a game with a dedicated red button (with backlight).
Also use backlit buttons for P1 start and Coin.
Ability to regulate sound volume via a knob.
Ability to connect external USB mouse, keyboard and even a secondary control panel for dual game play.
Ability to lock the cab so it can not be used without a physical key. (no child playing without permission...)
Color Scheme
Plain pine wood for the side panels, varnished with a clear wood varnish.
Pine has a natural tendency to turn orange-yellow as it ages so eventually it will blend beutifully with my choise of marquee.
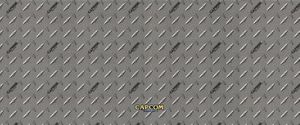
I chose a greyish tone pattern for my CPO. By buying extra material I can cover the rest of the panels as well.
Marquee Art
The Marquee came from Game On Grafix along with the Control Panel Overlay (CPO) shown above.
Unfortunately the guys there could not cut a small enough piece of plexi for me so I had to get the plexi from local vendors.
Hardware
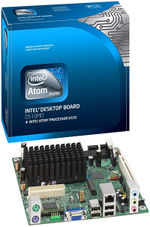
- Mini-ITX form factor Motherboard.
- Intel Atom CPU
- Solid State Disk Drive
- TFT screen
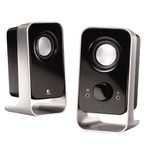
- Logitech Speakers
Computer Platform
I needed something with the following specs:
- Minimum moving parts (low maintenance, low MTBF).
- Low power consumption (less heat to dissipate).
- Small size (to fit in the cab).
- Quiet (low noise, better game sound)
- Powerful enough (to run the basic games that I enjoy most).
Motherboard
I went for the Intel D510MO mini-itx form factor (170mm x 170mm) for the following reasons:
1. Small size that would fit the cab and allow room for other components.
2. Ability for passive cooling. (no cpu fan, less noise)
3. Extremely low power consumption. (less heat in a wooden cab is a good thing)
4. Can happily run the majority of the mame games without additional hardware. (i.e. graphics cards)
Full specs here.
Memory
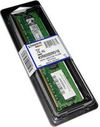
Kingston KVR800D2N5/1G
The motherboard only supports a single chip but one gig is more than enough for Mame.
Monitor
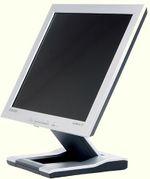
Samsung 15" TFT Panel (Syncmaster152T).
Great monitor. Excellent contrast. Had it lying around for the past 5 years and it seemed time I put it to good use.
Dismantling it was not very difficult and after doing so I discovered a hidden bonus. It seems with a VGA gender changer I can connect the motherboard almost directly to the monitor with no additional cable.
Another benefit is that the power supply is an external brick unit, thus the overall thickness of the monitor is very small.
The entire cabinet was designed based on the dimensions of this monitor. For example the internal width is just a few millimiters bigger than the monitor's width and the hight is also accordingly selected to just fit this monitor.
Power Supply
SL-500 Power Supply
This unit has a huge, very quiet 120mm Fan which I plan to place at the back of the cabinet.
But first I need to dismantle it...
Hard Drive
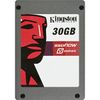
KINGSTON SNV125-S2/30GB SSDNOW V
Naturally I went for a Solid State Drive, because it is faster, noiseless, has lower power consumption and is almost indestructable.
Speakers
Logitech LS11
These tiny speakers have great sound quality and are easy to dismantle.
They also have the volume knob that I want.
USB Extender
Soon...
Marquee Lighting
USB light. More soon...
Power Feeds
Soon...
Power Switch
Soon...
Lock Key
Soon...
Software
Nothing fancy here. Just running MaLa as a single shell application on a cut-down version of XP.
Operating System
I chose Windows XP simply because of the beutiful Mala Front End. Otherwise I could have used the Linux installation from my previous arcade.
In any case, even though I chose Windows I still used nLite to minimise the footbrint of the installation. This way the OS would boot faster and consume less CPU during gaming.
I used nLite to:
- Slipstream SP3 into a Windows XP SP2 installation.
- Slipstream all the D510MO drivers (especially the ones for SATA disks)
- Slipstream all currently available security updates for XP.
- Remove several unneeded parts and functions of the OS
I then created a bootable USB stick containing my fresh XP setup files, plugged it into one of the usb ports and booted the system.
After that, it was a typical Windows installation. The installer detected my SSD drive thanks to the previously slipstreamed SATA drivers and believe it or not it was one of the fastest Windows installations I have ever seen (a few minutes...). This is mainly due to the speed of the SSD drive but also on the fact that I was installing from a USB 2 memory stick instead of a slower CD drive.
The problem was actually creating the bootable USB stick. I formatted the stick using NTFS and used specialised software to create a boot sector on the stick.
Emulator
Mame 32bit version 1.38
Front End
Mala
Controls
Coming soon...
Stick
Soon...
Buttons
Soon...
Rotary Dial
Soon...
Light Gun
Soon...
Woodworking
Let the building begin...
Side Panels
Soon...
- Templates
- Ribs
Rear Panels
Soon...
Control Panel
Soon...
Screen Bezel
Soon...
Marquee
Soon...
- Plexiglass
- Lighting
- Mounting
