Difference between revisions of "LS-30 Switch Service"
(→Disassembly) |
(→Disassembly) |
||
| Line 37: | Line 37: | ||
The grease had dried up and the blue upper housing had started to wear. As well, smell flecks of metal had worn of the shaft and made their way into the switch. | The grease had dried up and the blue upper housing had started to wear. As well, smell flecks of metal had worn of the shaft and made their way into the switch. | ||
| − | Here they are after cleaning. <br> | + | Here they are after cleaning. The circuit board was cleaned with alcohol and treated with Deoxit D5 contact cleaner (fantastic stuff by the way)<br> |
[[Image:clean_switch_parts.jpg]] | [[Image:clean_switch_parts.jpg]] | ||
| + | |||
| + | New grease was put on where it had been applied originally. I used Molykote EM-30L as I got some for lubricating a spinner. It's a light, plastic safe lithium grease. | ||
| + | [[Image:greased_switch_parts.jpg]] | ||
Revision as of 23:13, 3 August 2008
Tools Needed:
- Snap ring pliers
- Home-made top cap removal tool
- Socket wrench with 10mm socket
Disassembly
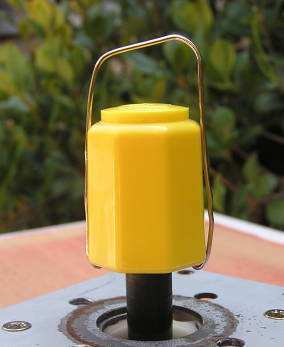
There's a simple way to get the handles off! I don't think I would have figured this out without this forum post.
Align the tips of the wire under the cap where the two little posts are and pull up to disingage the cap.
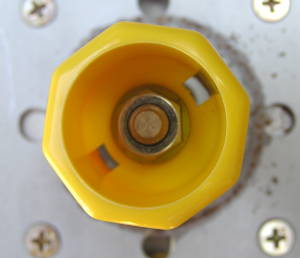
Hold the top and loosen the 10mm bolt inside. Once loosened the top will slide off easily.
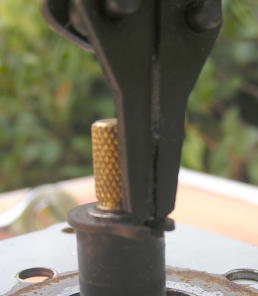
Remove the snap ring (you really do need snap ring pliers for this)
You should be able to pull the switch assembly out of the body at this point.
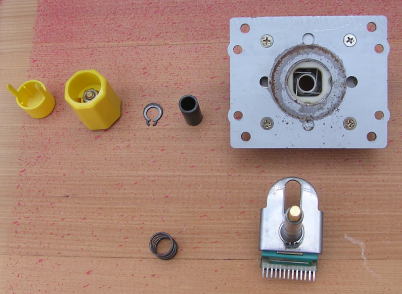
The outer sleeve part of the switch assembly shaft unscrews from the base. In order to protect the shaft from marring I wrapped it in several layer of electrical tape before unscrewing it with a pair of pliers.
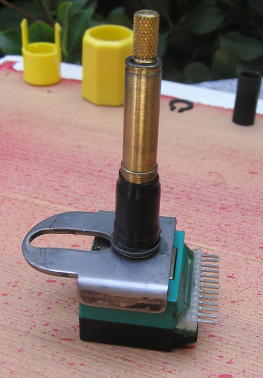
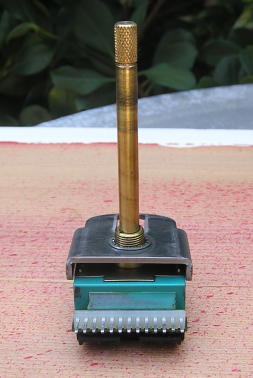
Straighten the four bent tabs on the top of the switch housing and gently work the case apart. It helps to push the tabs down from the top.
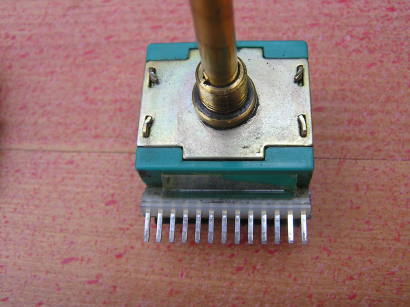
Once the case is open you can remove the contact carrier, circuit board and click mechanism (not official names). The circuit board is secured to the case but comes off with a little gentle prying (I said gentle). Be very careful removing the click assembly under the circuit board as it contains several tiny parts that are easily lost (two springs, two small metal plates, and two cylindrical rollers).
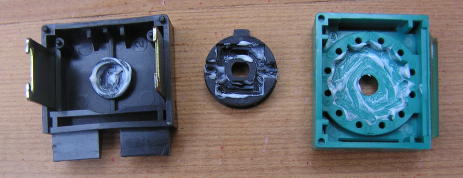
Here are the parts after dissasembly
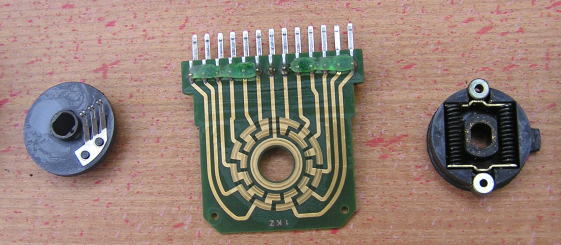
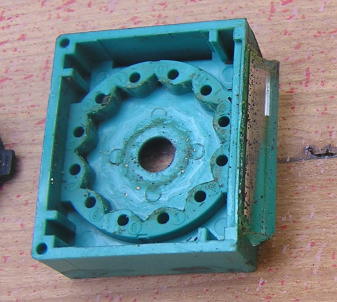
The grease had dried up and the blue upper housing had started to wear. As well, smell flecks of metal had worn of the shaft and made their way into the switch.
Here they are after cleaning. The circuit board was cleaned with alcohol and treated with Deoxit D5 contact cleaner (fantastic stuff by the way)
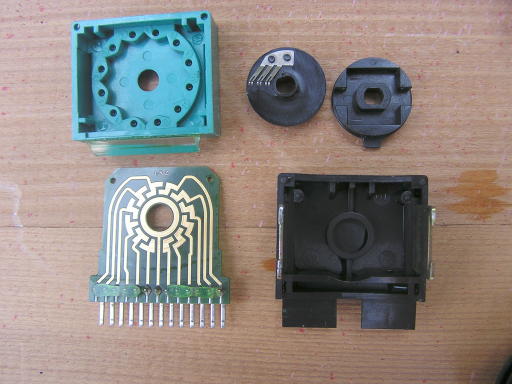
New grease was put on where it had been applied originally. I used Molykote EM-30L as I got some for lubricating a spinner. It's a light, plastic safe lithium grease.
